Create an application for this example part or select another application and create a new visual part named WinPartsExample.
|
1.
|
Change the name of the window to Windows Parts Example.
|
|
3.
|
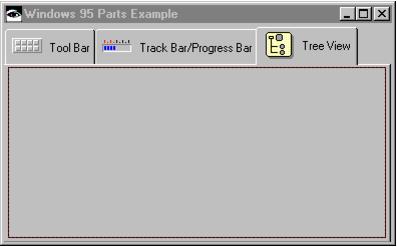
Open the tab strip's settings and attach the tab strip to each side of the window. You do this in the framingSpec setting of the tab strip using the XmATTACHFORM attachment type and an appropriate offset such as 0. This allows the tab strip to resize as the window is resized.
|
|
4.
|
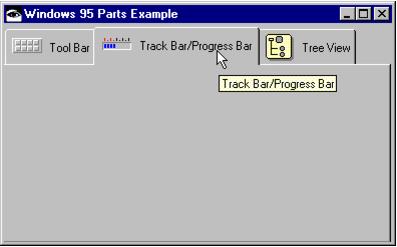
Add three Tab parts. When you add the first tab to a tab strip, drop it on the tab strip. When you add additional tabs, drop them just above the area represented by the existing tab pages and to the right of the existing tabs. Label the tabs Tool Bar, Track Bar/Progress Bar, and Tree View. Don't worry about the tabs' contents now; we'll get to that in a minute.
|
To make our example part more visually appealing, we're also going to add icons to the tabs. Open the settings for the following tabs and modify the graphicsDescriptor property so it specifies the designated number for an icon in the file abtbmp50.dll:
|
1.
|
Open the settings of the tab strip and ensure the showTips property is set to true; then close the window.
|
|
2.
|
Open the settings of each tab and set the toolTipText property to the appropriate text strings. In our example, you might add Tool Bar Example, Track Bar/Progress Bar Example, and Tree View Example.
|