Creating libraries
This section describes how to create a library.
A library is a shared repository that holds your team's source code, object (compiled) code, and persistent objects. You can create any number of libraries and add to them any assortment of components. For example, your team can operate from a single library. Or your team can manage two separate development and test libraries, and reserve a third library for production components.
After you create a new library, you can do the following:
•Export user objects, configuration maps, applications, subapplications, and classes to the empty library (see Exporting components)
•Define users of the library (see Giving users access to libraries)
To create a new library, do the following:
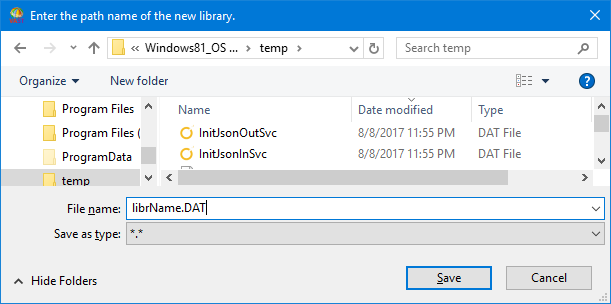
1. From the Tools menu, select System > Create New Library. If you are using TrailBlazer, then select Library > Create New Library. A window opens, prompting you for the path name of the new library.
2. Type in the path name of the new library and select OK.


You can use any file name or file extension for the library name. If your abt.ini file sets the singleUserMode: parameter to false, you must create the library on a drive that supports locks.
Setting up configuration files provides information on the configuration file.
The system creates an empty library. You now can export components to it and, unless you export user objects for your team from an old library to the new library, define its users.
Last modified date: 02/11/2021